Final #1 (Flash / Powerbullet .swf files)
Final #2 (Building Basics in Rocket World)
Final #3 (Group Building Project)
Final #4 (Monocular Depth Cues)
Final #5 (http://evolver.com/)
Final #6 (Future of Immersive Education)
Final #7 (Cindi in Space)
Final #8 (Course Evaluation)
Creating NASA space orbiter
Saturday, July 30, 2011
Creating a NASA space shuttle (orbiter)

I started off by creating the main body of the orbiter. I chose Hemicylinder, a shape that is flat on one side and rounded on the other.

I created the top of the orbiter with a Cone shape and placed it on the body.
I needed to fly all the time while creating the orbiter because of its height -
I could not shape or position the parts while standing on the ground.
I needed to fly all the time while creating the orbiter because of its height -
I could not shape or position the parts while standing on the ground.

I added two wings made with Prisms and two engines made with Spheres that
I stretched. I did a lot of flying around to position all the elements right in the 3D space. Using the Position and Size coordinates for all the parts was essential for me to do the assignment.
I stretched. I did a lot of flying around to position all the elements right in the 3D space. Using the Position and Size coordinates for all the parts was essential for me to do the assignment.
I changed the color of the top and the engines.

Here is my Endeavour orbiter.
Almost like the one below :)

It is a final exercise from the Immersive Education course that I am taking at Boston College. The course is called Discovering Computer Graphics. For details, visit the immersive BC portal at http://ImmersiveEducation.org/@/bc


Thursday, July 28, 2011
Final #3 (Group Building Project)

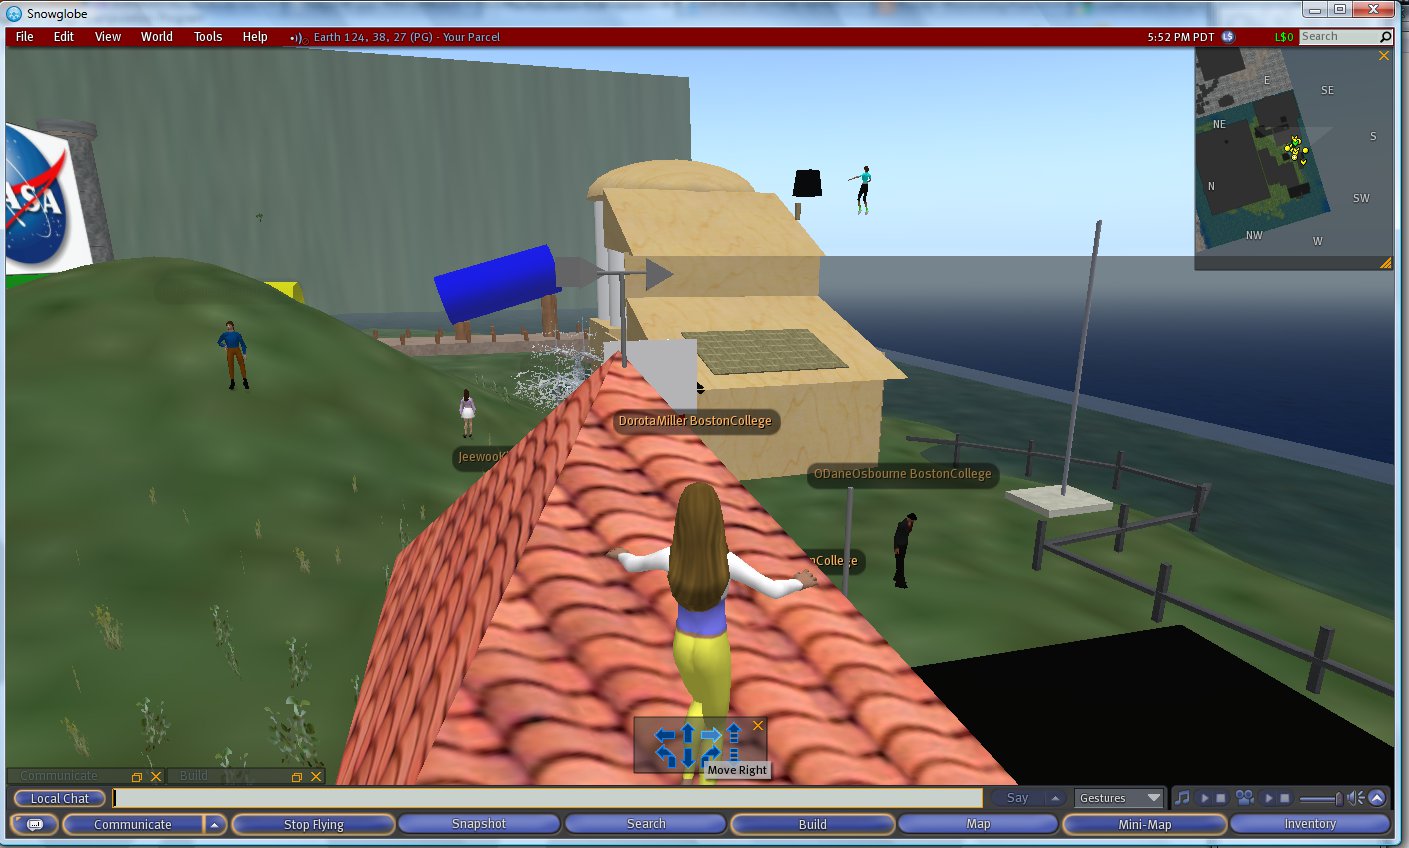
We used the Audio Whiteboard to diagram in 2D a basic plan for what we would create in Rocket World. Each team chose an assignment. Team Incredible is building a garage.

Team Incredible is gathering at the spot where our garage will be built.

I can't believe how fast it went to get the structure and the roof raised!
The garage is made out of brick and has a tiled roof.
I was the one building the roof.
The garage is made out of brick and has a tiled roof.
I was the one building the roof.

It is important to position the roof on the body of the garage, so it sits right on top of it and is not floating somewhere in mid air. I walked around the garage as well as flew around to make sure the roof was positioned right. I asked O'Dane, who built the body of the garage, to read the garage coordinates to me and that helped to get the roof situated.

As my teammates carried on with the construction (door, windows, driveway),
I was thinking what else I could create and I got an idea: a weather-vane!
I was thinking what else I could create and I got an idea: a weather-vane!

As I was creating the weather-vane from little pieces, I needed to position them to make one object.

Again, the XYZ coordinates were very helpful.
It was a lot of work to shape, re-size and add texture and color to each piece.
It was a lot of work to shape, re-size and add texture and color to each piece.

I asked my colleagues how to link objects, so I could move all the little pieces making up the weather-vane together - as one structure. I can't remember who told me to use the Shift key (Hey, come forward to get the credit!) but the tip totally rocked! I was able to move the weather-vane as one shape and position it at the top of the garage roof. I am flying around the roof to make sure the shape sits on the roof and is not floating in mid-air when seen from a different viewpoint.

As I was done, I looked around.
I can see Team Super Mario and Team Pandora are nearly done too.
I can see Team Super Mario and Team Pandora are nearly done too.

I am checking out the inside of Team Super Mario's house. Awesome!

They even have bookshelves and a fireplace!

And Team Pandora did a great job with the yard!

Here is a screenshot of the entire project: Team Incredible's beautiful Garage, Team Pandora's Yard with a trampoline! And Team Super Mario's house in the background.
And my weather-vane sits perfectly on top of the tiled roof of Team Incredible's awesome Garage!
I am flying around the roof once again to take the screenshots from different viewpoints.
I am flying around the roof once again to take the screenshots from different viewpoints.


I hope you enjoyed looking at our project as much as we enjoyed doing it!
Hope to see you in Rocket World "Earth, Moon, Mars, Stars"!
It is a final exercise from the Immersive Education course that I am taking at Boston College. The course is called Discovering Computer Graphics. For details, visit the immersive BC portal at http://ImmersiveEducation.org/@/bc
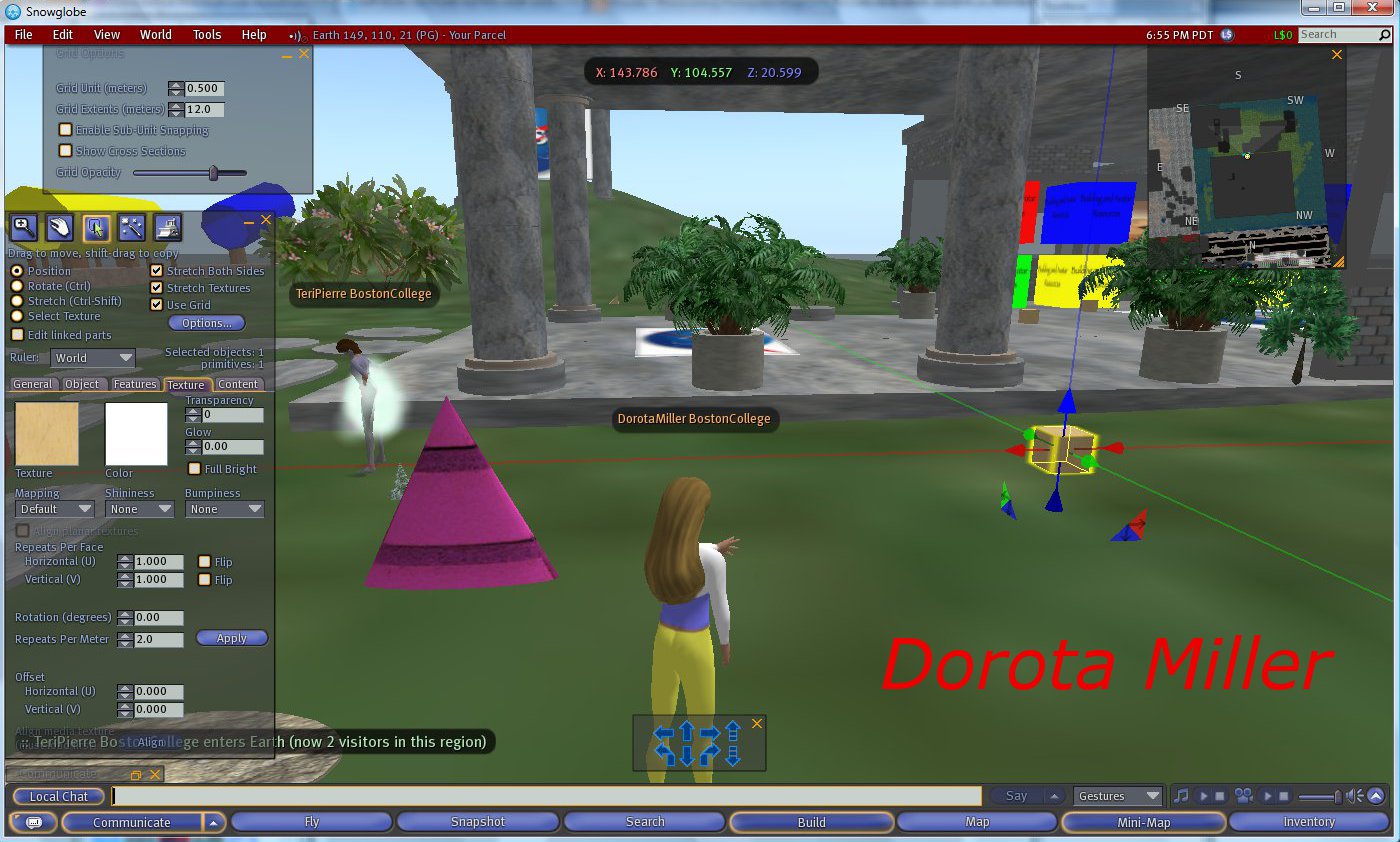
Teammate Encounter in Rocket World!
Teri and I happened to be in the Rocket World EMMS at the same time working on our homework assignments. It was really reassuring to have Teri there, esp. that it was late in the evening when we were working on the assignments. We would check with each other on the progress of work and keep each other 'virtual' company!


Final #2 (Building Basics in Rocket World)
My Rocket screenshots:
I am walking and flying around my Rocket looking at it from different viewpoints.
The top sits directly on the body - yea!
I am walking and flying around my Rocket looking at it from different viewpoints.
The top sits directly on the body - yea!


Please go to the following link to see the building process screenshots and descrtiptions:
It is a final exercise from the Immersive Education course that I am taking at Boston College. The course is called Discovering Computer Graphics. For details, visit the immersive BC portal at http://ImmersiveEducation.org/@/bc
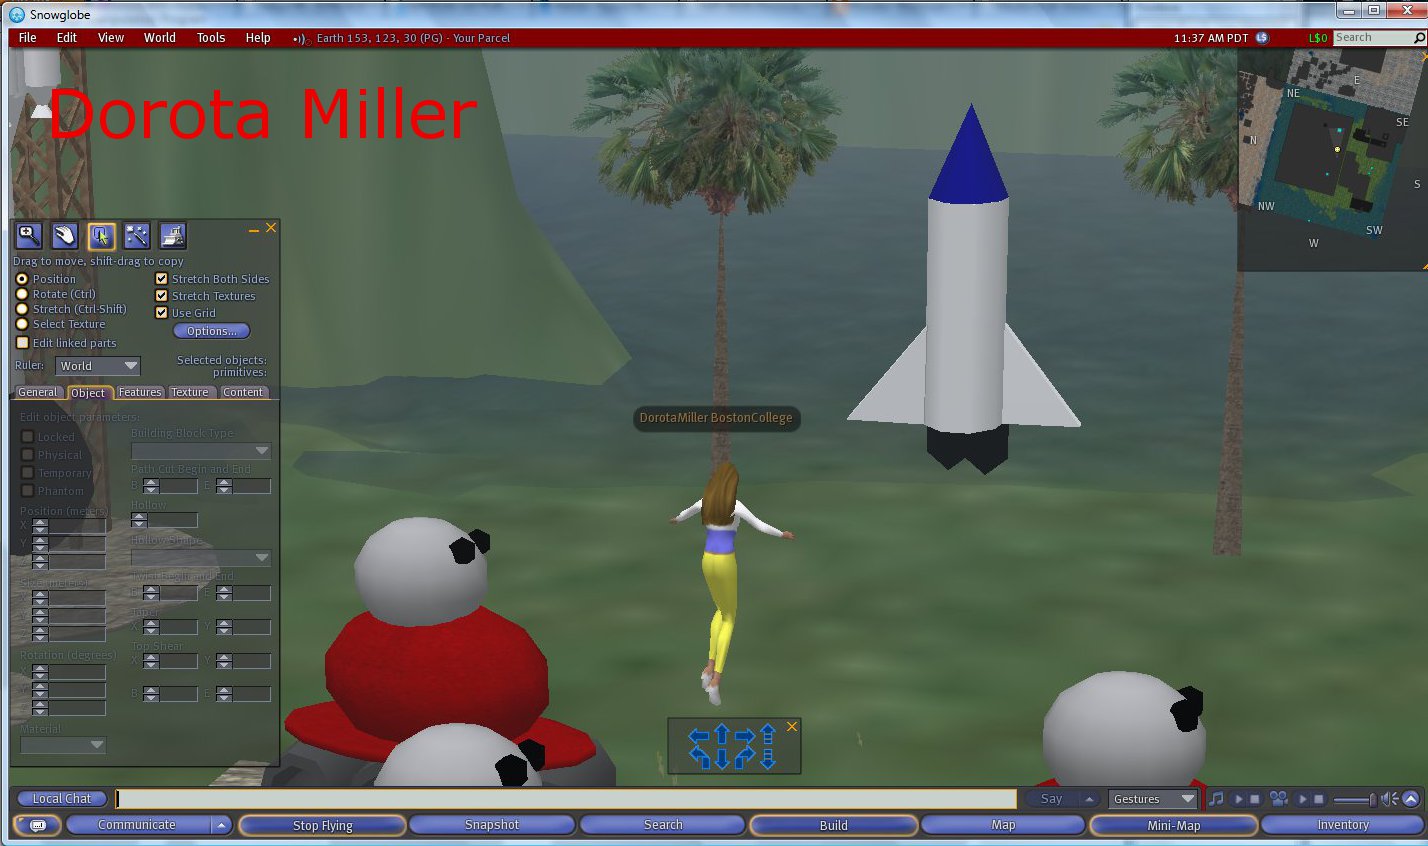
Creating a Rocket in Rocket World EMMS

I am creating the body of the rocket using a prim.

Here I am flying up to re-size my rocket -
the rocket was too tall to do that standing on the ground.

I am choosing the texture and color for the body of the rocket.

I am creating the top for the rocket using a cone shape.

I positioned the top on the body of the rocket.

Now I am walking around the rocket to check that the top sits directly on the body.


I readjusted the position of the top to make sure it fits directly on the body.
To do that I used the XYZ coordinates.
To do that I used the XYZ coordinates.

I am walking around the rocket again to make sure the top fits directly on the body and is not floating in space.
For a detailed description on how to create shapes and modify their size, texture and color, please go to:
How to create objects in Rocket World
For a detailed description on how to create shapes and modify their size, texture and color, please go to:
How to create objects in Rocket World
It is a final exercise from the Immersive Education course that I am taking at Boston College. The course is called Discovering Computer Graphics. For details, visit the immersive BC portal at http://ImmersiveEducation.org/@/bc
3D Objects in Different Configurations


It is a final exercise from the Immersive Education course that I am taking at Boston College. The course is called Discovering Computer Graphics. For details, visit the immersive BC portal at http://ImmersiveEducation.org/@/bc
Building 3D Objects in Rocket World EMMS

I am getting ready to Create!
I chose a place with some space around to position my objects.If you right-click anywhere on the terrain and then right-click on Create, a window pops up with shapes to chose from. Per assignment, I chose a Cone first and left-clicked on the terrain. A magic wand created a shape with arrows to position the prim (primitive object). If you go into the window and choose Stretch, you can make the object bigger or smaller. You need to alternate between Position and Stretch to make sure your object is positioned on the terrain and not disappearing into the ground.

With the Create command I chose a Cone.
If you right-click on the shape, chose Edit and go into Object and Texture tabs, you can give your object a different texture and color. By default the object is made of wood. You can pick the material at the bottom of Object tab and then pick the texture on the Texture tab from OpenSim Library/Texture Library. You can customize the color on Color Picker by choosing the shade, hue, etc.

With the Edit command I chose the texture and color for my object.
I repeated the steps I described above while creating a Sphere and a Box.

Now I am creating the second object: the Sphere.

Resizing the object. Choosing the texture and color for the Sphere.
Onto the third object: the Box. To create a Box, I chose a Cube shape.

Resizing the Box. Giving it texture and color.
It is a final exercise from the Immersive Education course that I am taking at Boston College. The course is called Discovering Computer Graphics. For details, visit the immersive BC portal at http://ImmersiveEducation.org/@/bc
Subscribe to:
Comments (Atom)