Thursday, July 28, 2011

Teammate Encounter in Rocket World!

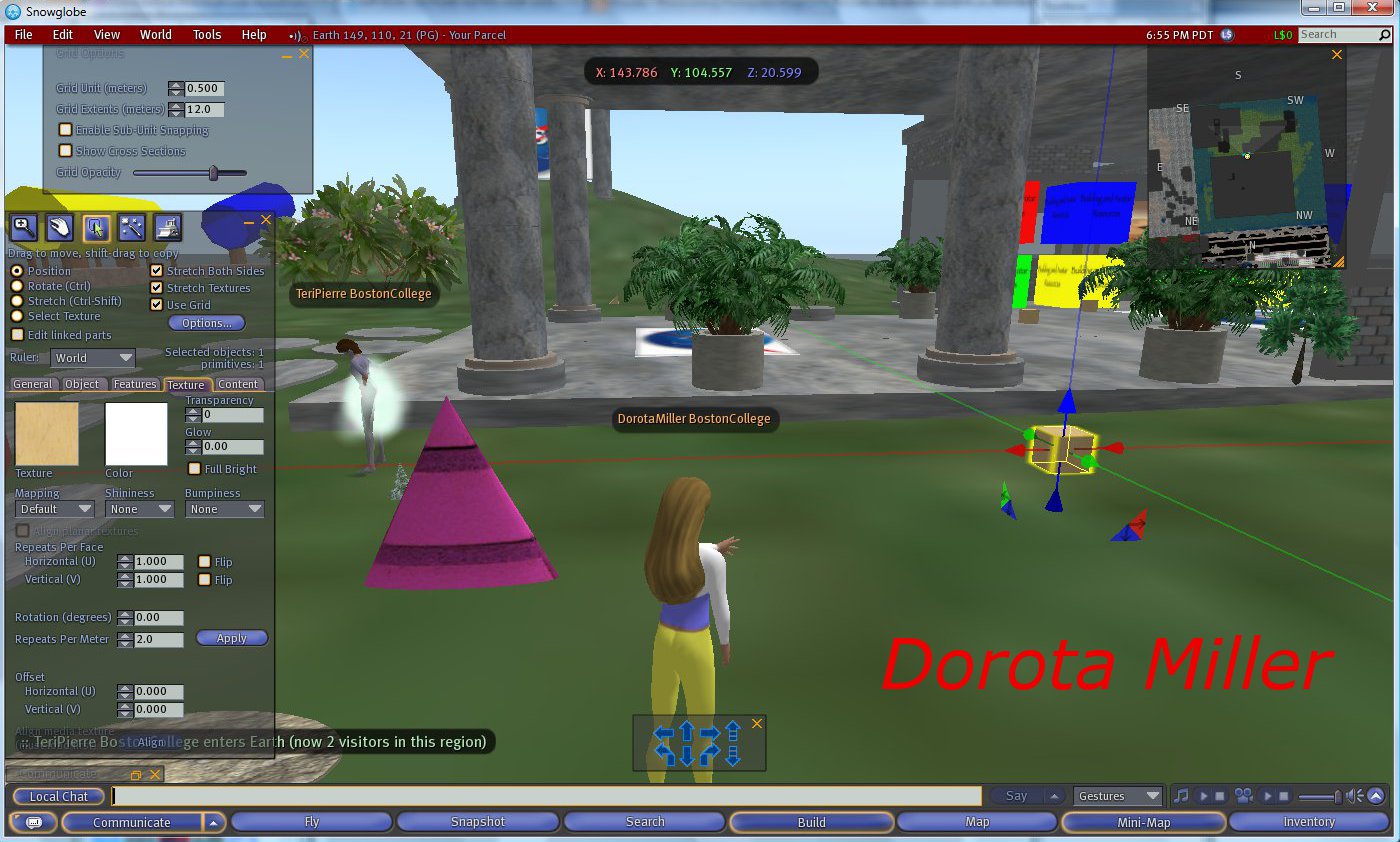
Teri and I happened to be in the Rocket World EMMS at the same time working on our homework assignments. It was really reassuring to have Teri there, esp. that it was late in the evening when we were working on the assignments. We would check with each other on the progress of work and keep each other 'virtual' company!


Final #2 (Building Basics in Rocket World)

My Rocket screenshots:

I am walking and flying around my Rocket looking at it from different viewpoints.
The top sits directly on the body - yea!


Please go to the following link to see the building process screenshots and descrtiptions:

It is a final exercise from the Immersive Education course that I am taking at Boston College. The course is called Discovering Computer Graphics. For details, visit the immersive BC portal at http://ImmersiveEducation.org/@/bc

Creating a Rocket in Rocket World EMMS

I am creating the body of the rocket using a prim.

Here I am flying up to re-size my rocket -
the rocket was too tall to do that standing on the ground.

I am choosing the texture and color for the body of the rocket.

 I am creating the top for the rocket using a cone shape.

I positioned the top on the body of the rocket.

Now I am walking around the rocket to check that the top sits directly on the body.


I readjusted the position of the top to make sure it fits directly on the body.
To do that I used the XYZ coordinates.

I am walking around the rocket again to make sure the top fits directly on the body and is not floating in space.

For a detailed description on how to create shapes and modify their size, texture and color, please go to:
How to create objects in Rocket World

It is a final exercise from the Immersive Education course that I am taking at Boston College. The course is called Discovering Computer Graphics. For details, visit the immersive BC portal at http://ImmersiveEducation.org/@/bc

3D Objects in Different Configurations


It is a final exercise from the Immersive Education course that I am taking at Boston College. The course is called Discovering Computer Graphics. For details, visit the immersive BC portal at http://ImmersiveEducation.org/@/bc

Building 3D Objects in Rocket World EMMS

I am getting ready to Create!
I chose a place with some space around to position my objects.

If you right-click anywhere on the terrain and then right-click on Create, a window pops up with shapes to chose from. Per assignment, I chose a Cone first and left-clicked on the terrain. A magic wand created a shape with arrows  to position the prim (primitive object). If you go into the window and choose Stretch, you can make the object bigger or smaller. You need to alternate between Position and Stretch to make sure your object is positioned on the terrain and not disappearing into the ground.

With the Create command I chose a Cone.

If you right-click on the shape, chose Edit and go into Object and Texture tabs, you can give your object a different texture and color. By default the object is made of wood. You can pick the material at the bottom of Object tab and then pick the texture on the Texture tab from OpenSim Library/Texture Library. You can customize the color on Color Picker by choosing the shade, hue, etc.

With the Edit command I chose the texture and color for my object.

I repeated the steps I described above while creating a Sphere and a Box.

Now I am creating the second object: the Sphere.

Resizing the object. Choosing the texture and color for the Sphere.

Onto the third object: the Box. To create a Box, I chose a Cube shape.

Resizing the Box. Giving it texture and color.

It is a final exercise from the Immersive Education course that I am taking at Boston College. The course is called Discovering Computer Graphics. For details, visit the immersive BC portal at http://ImmersiveEducation.org/@/bc


Wednesday, July 27, 2011

Rocket World - Customizing the Avatar

I entered the Rocket World EMMS. My avatar was a generic female, running around in tight red pants. I rather liked the pants, but I needed to customize "Ruth" a bit, so she could become me. Or the virtual wanna-be.
I started by right-clicking on the avatar and clicked on Appearance. A window popped up with Body Parts and Clothes to customize. You could choose the avatar to wear them right away and you could also store them in Inventory (bottom right-hand corner). If I could not modify a body part or an item of clothing,
I created them from scratch.


Customizing hair, eyes, brows - shape, color, style.
The Appearance window gives you options to choose the body part color or shape with a sliding scale.


Customizing the clothes - top, pants and shoes - style, shape and color.
I was able to try out different options and either choose to wear them right away or store them in the Inventory for later.


Customizing the outfit - jacket - style, shape, color.
I picked a jacket to go over my skimpy top - after all She attends Boston College!


It is a final exercise from the Immersive Education course that I am taking at Boston College. The course is called Discovering Computer Graphics. For details, visit the immersive BC portal at http://ImmersiveEducation.org/@/bc

Monday, July 25, 2011

Final #1 (Flash / Powerbullet.swf files)

Powerbullet Assignment 4
with links to Powerbullet Assignments 1, 2 and 3

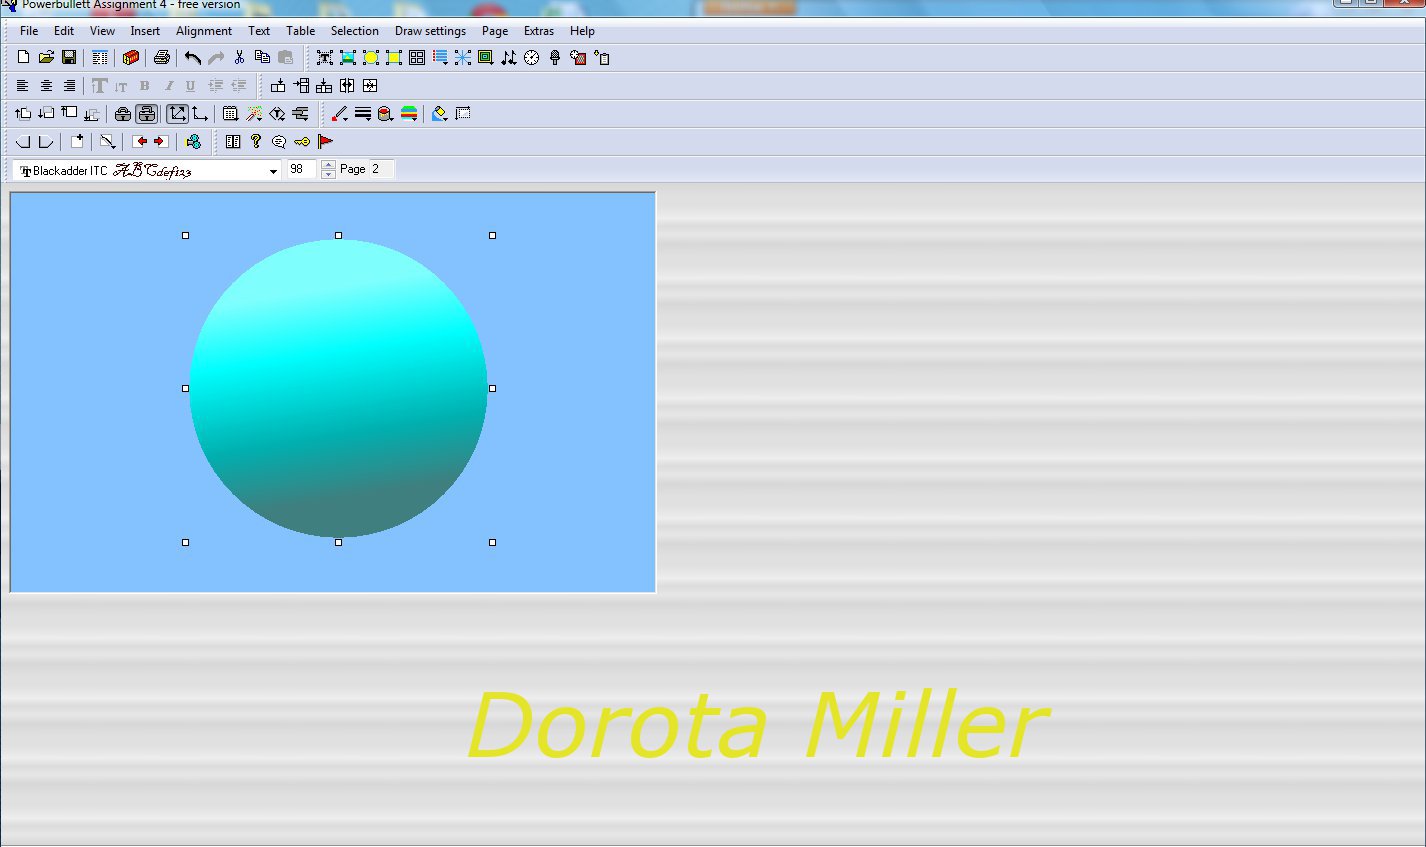
In this assignment I created a three-page animation - a Flash file that contains a text, an object and an image. After creating the first page, a Flash file that animated a text, I added the second Page (a page icon with a + sign on the Page toolbar) on which I created a Flash file that animated an object. Then I added the third Page, where I created a Flash file animating an image. To move between the pages, use arrow signs on the Page toolbar. You can only Preview each page separately. You can chose a different animation for each page, however you have to select the animation settings for the whole three-page file.


For details on how to create a text animation, go to Powerbullet Assignment 1.


For details on how to create an object animation, go to Powerbullet Assignment 2.


For details on how to create an image animation, go to Powerbullet Assignment 3.


Powerbullet Assignment 4 Loop

Powerbullet Assignment 4 with Navigation Controls


It is a final exercise from the Immersive Education course that I am taking at Boston College. The course is called Discovering Computer Graphics. For details, visit the immersive BC portal at http://ImmersiveEducation.org/@/bc


Saturday, July 23, 2011

Powerbullet Assignment 3

In this assignment I animated an image. I inserted a bitmap image (a JPEG photo of my Kitty) through Insert -> Image. I positioned it in the middle of the page.


I added a frame to the photo - the detailed steps are described in Powerbullet Assignment 2.


Then I added a background color that would go well with the photograph. I chose an animation (see Powerbullet Assignment 1) and Exported the File, having Previewed the page first.


Powerbullet Assignment 3


It is a final exercise from the Immersive Education course that I am taking at Boston College. The course is called Discovering Computer Graphics. For details, visit the immersive BC portal at http://ImmersiveEducation.org/@/bc

Powerbullet Assignment 2

Here I am creating a Flash file that will animate an object. I chose a New file from the File menu command. First I set Background color (for details see Powerbullet Assignment 1). Then from Insert command I chose the object shape I wanted to animate: I picked a Rectangle.


Having selected the shape, I accessed Fill color and Gradient setup - available from the Draw settings command or from the Draw settings toolbar. You can play with the color to create a custom color for your object. Gradient setup is fun: you can choose how many layers or shades your color will have and what direction they will take.


Next I added a frame to my object by selecting another Rectangle. While the first rectangle, the object itself has a Fill (right-click on the selected object and choose Item properties), the frame needs to be 'empty', i.e. have no fill, but an Outline. At the end I animated the two objects, just like the Text in Powerbullet Assignment 1 and having Previewed the animation, I Exported the file to save it.


Powerbullet Assignment 2


It is a final exercise from the Immersive Education course that I am taking at Boston College. The course is called Discovering Computer Graphics. For details, visit the immersive BC portal at http://ImmersiveEducation.org/@/bc

Powerbullet Assignment 1

I opened Powerbullet I chose New from the File menu to create a new animation. I am creating a Flash file that will animate my name using text. First I created a purple page by going to Draw settings -> Background color. The feature can also be accessed on the Draw settings toolbar - hover over the icons until you find Set background color. Then I clicked on Insert command on the Menu and chose Text. I wrote my name and set the font type, size and color. You can do that by going to Text command on the main Menu, or through the Text toolbar.


I positioned the text frame on the central spot on the page. To animate the text, make sure the Text frame is selected, then go to Selection on the main Menu and Animation and effects. You can choose the Type of animation you want from the drop-down menu. You can go to Page -> Preview to see what the animation looks like, or simply use the Preview button on the bottom Toolbar, which looks like an old-fashioned film projector.


Through the Export settings, which can be accessed from the File command,  you can decide if your animation will be flashed once or continuously (Loop needs to be check-marked ). If you are happy with your animation, you Export the file (File -> Export), which will save the animation on your hard drive. In order to have your animation on the Internet you need to upload the .swf file to your website.
Click on the link below to see the animation.


It is a final exercise from the Immersive Education course that I am taking at Boston College. The course is called Discovering Computer Graphics. For details, visit the immersive BC portal at http://ImmersiveEducation.org/@/bc